Now that we’ve added basic blocks and items, let’s move on to something more interesting: custom tools. Since these are more complicated items, we’ll need to make five new classes, one for each of the tools. Name them ItemTutorialAxe, ItemTutorialPickaxe, ItemTutorialHoe, ItemTutorialShovel, and ItemTutorialSword, and put them in package cubicoder.tutorialmod.item. Each one will extend the vanilla class of its type (e.g. ItemAxe). Note that the vanilla shovel class is called ItemSpade, not ItemShovel.
package cubicoder.tutorialmod.item;

import net.minecraft.item.ItemPickaxe;

public class ItemTutorialPickaxe extends ItemPickaxe {

	public ItemTutorialPickaxe(ToolMaterial material) {
		super(material);
	}

}
This is the code for the ItemTutorialPickaxe. Your other classes will be the same except in name (excluding ItemTutorialAxe). The constructor for tools takes in a ToolMaterial. This material defines things like durability and harvest speed, and we’ll create one for our tools soon. But first, we need to address the ItemTutorialAxe class.
Your ItemTutorialAxe class is not going to look the same as the others, because axes define their attack speed and damage within the class, rather than from the tool material.
package cubicoder.tutorialmod.item;

import net.minecraft.item.ItemAxe;

public class ItemTutorialAxe extends ItemAxe {

	public ItemTutorialAxe(ToolMaterial material, float damage, float speed) {
		super(material, damage, speed);
	}

}
Now create a class named TutorialMaterials in the package com.cubicoder.tutorialmod.materials. In this class, we use Forge’s EnumHelper to create a new tool material.
package cubicoder.tutorialmod.materials;

import cubicoder.tutorialmod.TutorialMod;
import net.minecraft.item.Item.ToolMaterial;
import net.minecraftforge.common.util.EnumHelper;

public class TutorialMaterials {

	public static final ToolMaterial TUTORIAL_TOOL = EnumHelper.addToolMaterial(name, harvestLevel, maxUses, efficiency, damage, enchantability);

}
Forge’s EnumHelper uses a Java feature called reflection to add values to the vanilla ToolMaterial enum after it has already been created. Reflection is a complicated and advanced topic, so it’s good for us that Forge supplies the EnumHelper to do the heavy lifting. All we need to do is fill in a few parameters.
Name: The name of the enum value that Forge will be adding. Make sure to prefix this with your mod id!.
Harvest level: The harvest level determines which blocks your tools can harvest. 0 is wood and gold level, 1 is stone, 2 is iron, and 3 is diamond. You can set this level higher than three, and if you or another mod adds a block with a higher harvest level than three, you’ll be able to mine it with your tools. As long as your tools’ harvest level is greater than or equal to the harvest level of the block you’re mining, it can be harvested.
Max uses: The durability of your tools.
Efficiency: How fast your tools mine/dig/whatever (not attack speed, though).
Damage: The base amount of damage your tools deal. Different tool types increment this value certain amounts; for example, a sword will have a damage value three points higher than the value you set here.
Enchantability: How well your item can be enchanted. A higher value here means a better chance of getting good enchantments.
Let’s fill in these values so that our material is somewhere between iron and diamond.
public static final ToolMaterial TUTORIAL_TOOL = EnumHelper.addToolMaterial(TutorialMod.MODID + ":" + "tutorial_tool", 2, 625, 7.0F, 2.5F, 10);
Now you just need to register the items like you would any other item and add entries for them in your lang file. For example:
ModItems.java:
package cubicoder.tutorialmod.init;

import cubicoder.tutorialmod.TutorialMod;
import net.minecraft.item.Item;
import net.minecraftforge.fml.common.registry.GameRegistry.ObjectHolder;

@ObjectHolder(TutorialMod.MODID)
public class ModItems {

	public static final Item FIRST_ITEM        = null;
	public static final Item TUTORIAL_PICKAXE  = null;
    // reference other tools...

}
RegistrationHandler.java:
//...

@SubscribeEvent
public static void registerItems(Register<Item> event) {
	final Item[] items = {
			RegistryUtil.setItemName(new Item(), "first_item").setCreativeTab(TutorialMod.TUTORIAL_TAB),
			RegistryUtil.setItemName(new ItemTutorialPickaxe(TutorialMaterials.TUTORIAL_TOOL), "tutorial_pickaxe").setCreativeTab(TutorialMod.TUTORIAL_TAB)
		// initialize other tools...
	};

	// register item blocks...

	event.getRegistry().registerAll(items);
	event.getRegistry().registerAll(itemBlocks);
}

//...
ModelRegistrationHandler.java:
//...

@SubscribeEvent
public static void registerModels(ModelRegistryEvent event) {
	registerModel(ModItems.FIRST_ITEM, 0);
	registerModel(ModItems.TUTORIAL_PICKAXE, 0);
	// register models for other tools...
}

//...
en_us.lang:
# Items
item.tutorialmod.first_item.name=First Item
item.tutorialmod.tutorial_pickaxe.name=Tutorial Pickaxe
# rest of the tools...
In your models, the parent field should be item/handheld, not item/generated:
{
	"parent": "item/handheld",
	"textures": {
		"layer0": "tutorialmod:items/tutorial_pickaxe"
	}
}
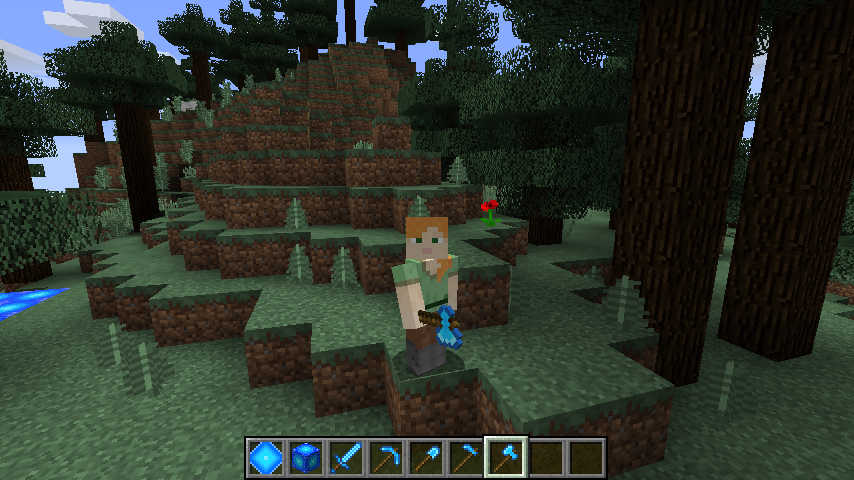
Textures go in assets/tutorialmod/textures/items, and should be named the same as the registry name of you tool. Finally, run the game to see your wonderful tools!
View the full code on GitHub.