Let’s add some custom armor into our mod. Start by making a class named ItemTutorialArmor in your cubicoder.tutorialmod.item package.
package cubicoder.tutorialmod.item;

import net.minecraft.inventory.EntityEquipmentSlot;
import net.minecraft.item.ItemArmor;

public class ItemTutorialArmor extends ItemArmor {

	public ItemTutorialArmor(ArmorMaterial material, EntityEquipmentSlot equipmentSlot) {
		super(material, 0, equipmentSlot);
	}

}
The constructor takes in the armor material and the slot the armor will go into (if it is a helmet, chestplate, etc.). The number in the superclass’s constructor is the render index, which is used by vanilla and differs for each armor type. However, we don’t need to use it for any of our custom armor, so we’ll set it to 0.
Now, we need an armor material, which is added in a similar way to a tool material. Add that in the TutorialMaterials class:
public static final ArmorMaterial TUTORIAL_ARMOR = EnumHelper.addArmorMaterial(name, textureName, durability, reductionAmounts, enchantability, soundOnEquip, toughness);
Name: The name of the material. Make sure to prefix this with your mod id!.
Texture name: The domain for the armor texture that will be rendered on the player.
Durability: The base amount of damage the armor can take. This is multiplied by a different amount for each type of armor.
Reduction amounts: This is an array listing the damage reduction values for each piece of armor, with the value for a helmet at index 0 (first value), chestplate at index 1, leggings at index 2, and boots at index 3. Note that making the total exceed 25 makes the player immune to all damage.
Enchantability: How well the armor can be enchanted.
Sound on equip: The sound that is played when the armor is equipped.
Toughness: A special value that can be used to further reduce damage.
Let’s fill this in with our own values:
public static final ArmorMaterial TUTORIAL_ARMOR = EnumHelper.addArmorMaterial(TutorialMod.MODID + ":" + "tutorial_armor", TutorialMod.MODID + ":tutorial", 16, new int[]{2, 5, 6, 3}, 5, SoundEvents.ITEM_ARMOR_EQUIP_GENERIC, 0);
Now do your usual stuff for adding an item: reference in ModItems, register in RegistrationHandler (making sure to set the correct armor material and EntityEquipmentSlot), register models in ModelRegistryHandler, add JSON models in assets/tutorialmod/models/item, add textures for the items in assets/tutorialmod/textures/items, and adding lang file translations.
You’ll also need two textures in assets/tutorialmod/textures/models/armor, one for each armor layer. These should be called tutorial_layer_x.png, where x is the layer number - 2 for leggings, and 1 for the other armor pieces. Take a look at the source for this tutorial to see what these layer textures should look like, and if you need help with registering the items.
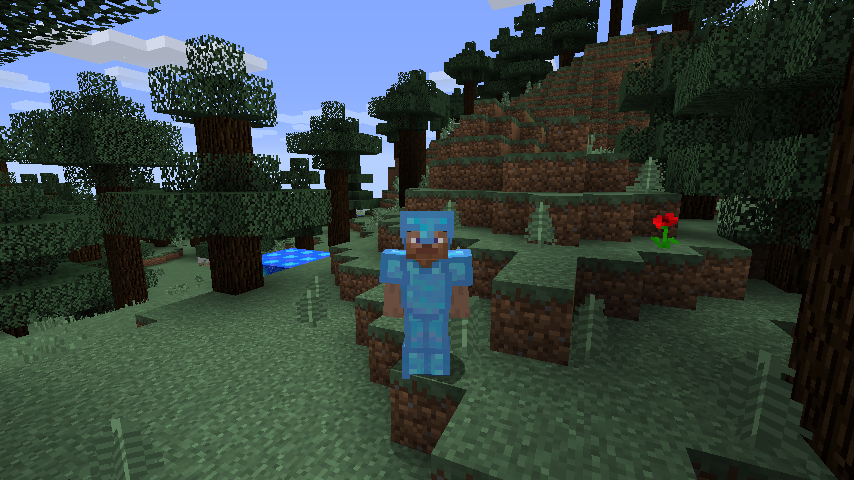
If you registered your items properly and followed this tutorial correctly, you will see your armor in your creative tab! Enjoy!