At this point, we’ve added a bit of content into the game, and you may be wanting to export your mod so that you can use it outside of Eclipse. This process is a little bit more complicated than exporting as a JAR file through Eclipse’s tools.
First, we need to edit a few of the files in your mod directory. Let’s start with .gitignore. This file isn’t necessary for releasing your mod, but it is needed if you are posting the source on GitHub (which you need to do). This file tells GitHub to ignore certain files or directories that aren’t relevant to the source code (e.g. all our save files). Edit it to look like this:
# eclipse
bin
eclipse
*.launch
.settings
.metadata
.classpath
.project

# idea
out
classes
*.ipr
*.iws
*.iml
.idea

# gradle
build
.gradle

# other
*.DS_Store*
run
!LICENSE
!README.*
!.gitignore
Each line specifies a directory or file to ignore. The lines with # characters in front are comments.
Next, we need to edit the build.gradle file. This file is responsible for giving various instructions on actually building the JAR file. We need to edit three values: version, group, and archivesBaseName. The version should be prepended by the Minecraft version. Then, use a dash, followed by the version you specified in your main mod class. The group should be what you named your main package. archivesBaseName is your modid.
version = "1.12.2-0.1.0"
group = "cubicoder.tutorialmod"
archivesBaseName = "tutorialmod"
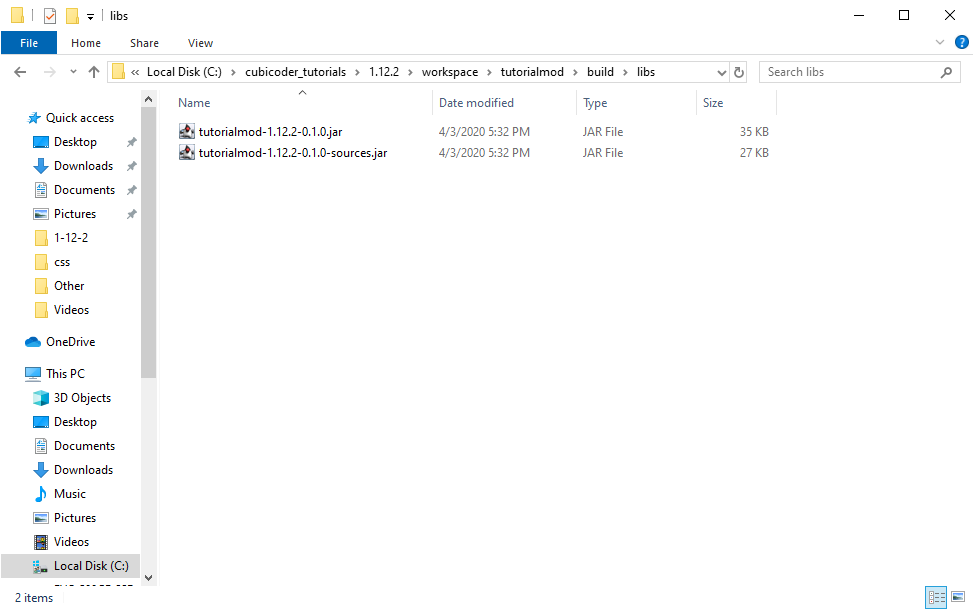
Then, you can open the Gradle Tasks pane in Eclipse and run the build task. Your mod JAR will be in the directory /build/libs/.
 Happy playing!